Week 11: Player and Camera Movement
- Sidhhant Girhotra
- Dec 9, 2019
- 4 min read
Updated: Jan 16, 2020
In games like A Short Hike, Uncharted, Celeste, Hollow Knight and many more, you as a player spend a lot of time moving around the level. Nailing down character and camera movement is important to keep the game experience fun and engaging. I did some research into games that have interesting movement so I could understand and design movement suitable for Maive.
A Short Hike
This game has a playful movement design and it really reflects the personality of the main character. While playing the game, the most interesting thing that I found was the way the camera would change and constantly switch focus and angles.
There is a point in the game where your player character reaches a certain height while climbing the mountain and the camera switches the angle and looks at the player while facing away from the mountain. This makes it so that you can see how high up the mountain your character is as you are walking near the edge of the mountain. When I was experiencing this personally, it gave me a sense of achievement and relief. The goal of the game is to finish the hike up the mountain and because of the camera movement, I could see how far I have come up during my journey.
Another thing that was inspiring about this game was the movement. The protagonist is anxious about her mother who is in the hospital and that comes through the dialogues but she is also free spirited and that comes through her movement. The playful nature of her is portrayed through her animations that come along with the way she moves. I realized that little things like, how fast she goes, how quickly she stops and how quickly she can turn around can really tell how the person is feeling. This inspired me to design Maive in a way that her movement, dialogues and camera positioning gives the player a very personal and emotional experience of our main protagonist.
Prototyping Movement

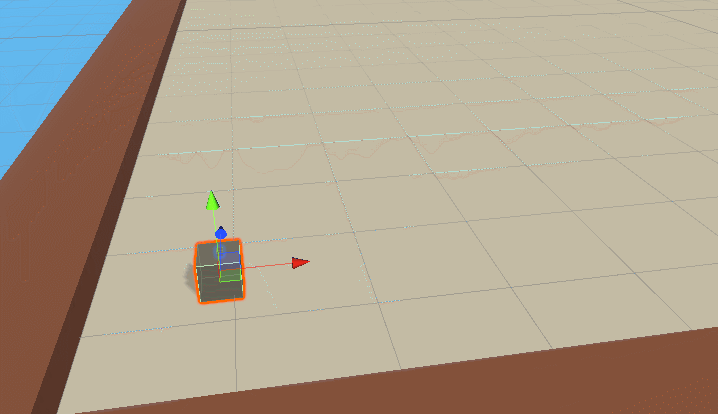
For this process I wanted to use the basic Transform.Translate method to sort out the movement but there was an issue with how the movement was turning out through this method.
The character would be able to walk and move freely with this method but when it came to rotating, it would rotate to 0 degrees along the Y-Axis as soon as I would take my finger of the movement button. I was so confused as to why it was happening, but I was very sure that I would need to add some sort of condition to it so it doesn't return to its original state when I take my finger off the key.

After thinking about this for a while and taking notes, I figured that having an If condition in the function which basically says that if the character has moved before/is moving on an axis, it would apply the rotation and since our character would always have moved from its current position, the rotation would work just fine.

The result of adding this proved correct and the character could move and rotate, and to make this piece of code more flexible, I made two public floats for rotation and speed to control the movement and rotation of the character without having to opening Visual Studio.
Camera Transition Prototype

This was a little tricky for me as I have not worked much with cameras before. I did some basic research on how Unity handles cameras and camera transitions. I contacted the developer of A Short Hike (Twitter - @adamgryu) to get some inspiration. It was very kind of him to get some time out and reply to my message even though he has been busy.
" I simply set up a whole bunch of virtual cameras which each activated when the player entered the corresponding trigger zone. Hope this helps!"
This gave me a starting point so I started researching into virtual cameras. I found out that unity has a package called Cinemachine that can be used to create a dynamic camera system.
I looked at some tutorials to explore this powerful system and to get used to the features. Once i was comfortable enough with the software, I started implementing it which actually did not take me long to figure out.

I started off with setting up two Virtual Cameras, the first one would be behind the player and the second one is on an angle to give the player a more scenic view if needed. This was just a test to see how I can work with dynamic camera movements to make the game feel more alive.

The next thing I did was add two Colliders in the scene which would act as a trigger point for the transition to take place. Once this setup was done all I needed to do was switch the virtual cameras off and on when certain collisions happen.

In code, all I needed to do was:
1) Detect collision
2) Transition through cameras by turning them off or on and transitioning back doing the same.
For collision detection I used OnTriggerExit instead of OnTriggerEnter because i want the transition to stay. If I used OnTriggerEnter the camera would transition back as soon as the player leaves that collider but with OnTriggerExit the transition only happens when the player character leaves the collider and that is ideal. This allows me to have more control over when the transitions take place.


Comments